

Previously I wrote about react native getting started guide in 2020
How to run your first React Native App on macOS for iOS devices
But a lot is changed since 2020. So here is the focus to running your first latest version react native iOS app on macOS.
I have used macOS M1 version(13.2.1) for this guide.
Install Homebrew
Run this command in the root directory to install homebrew.
/bin/bash -c "$(curl -fsSL https://raw.githubusercontent.com/Homebrew/install/HEAD/install.sh)"
After this command ran successfully, the brew will tell you commands to add brew to your terminal. You can run those commands so then later use brew to install more dependencies.
Install Node and Watchman
Run these commands to install Node and Watchman.
brew install node
brew install watchman
Make sure to install Node 14 or newer versions. You can check the version by this command.
node -v
Install Ruby
React Native guide recommends to installing Ruby version manager to align your macOS version with React Native.
Currently, macOS 13.2 is shipped with Ruby 2.6.10 which is not what is required by this version of React Native (2.7.6).
Check your macOS ruby version with this command
ruby -v
It gave me 2.6.10 version.
Install chruby
For this I installed chruby ruby version manager.
1- Run this command to install chruby and ruby-install
brew install chruby ruby-install
2- Install the stable version of ruby by running this command.
ruby-install 2.7.6 -- --enable-shared
After the above command is executed, I got ruby 2.7.6 version installed.
3- Configure your shell with the latest ruby version
echo "source $(brew --prefix)/opt/chruby/share/chruby/chruby.sh" >> ~/.zshrc
echo "source $(brew --prefix)/opt/chruby/share/chruby/auto.sh" >> ~/.zshrc
echo "chruby ruby-2.7.6" >> ~/.zshrc
Make sure to add the same version (2.7.6) in the above command that was installed in step 2.
4- Quit, relaunch the terminal, and check the ruby version again by running this command.
ruby -v
It should say ruby 2.7.6
Install Xcode
The best way to install Xcode is through the App store. It will also install the necessary tools and an iOS simulator to build an iOS app.
Make sure to install Xcode of version 10 or newer.
1. Install Command Line Tools
For Xcode's latest version (14.2), open Xcode and choose Behaviors > Edit Behaviors from the Xcode menu.
For previous Xcode versions, select "Preferences..." from the Xcode menu.
Go to Locations section and select the most recent option available from the Command Line Tools dropdown menu.
2. Install CocoaPods
Install CocoaPods by running this command
gem install cocoapods
Make sure to not use sudo while installing any gems. Moncef Belyamani explained it here
Create a new application
Let's create a new React Native project called AwesomeProject using React Native's built-in command line interface.
npx react-native@latest init AwesomeProject
After the new app is created, you need to run this command in your project ios folder to install pods
pod install
Running an app
1. Start Metro
To run a react-native app, you need to start the metro first. Run this command in the terminal to start metro.
npx react-native start
2. Start the application
Open a new terminal, and run this command to run the app on the iOS simulator.
npx react-native run-ios
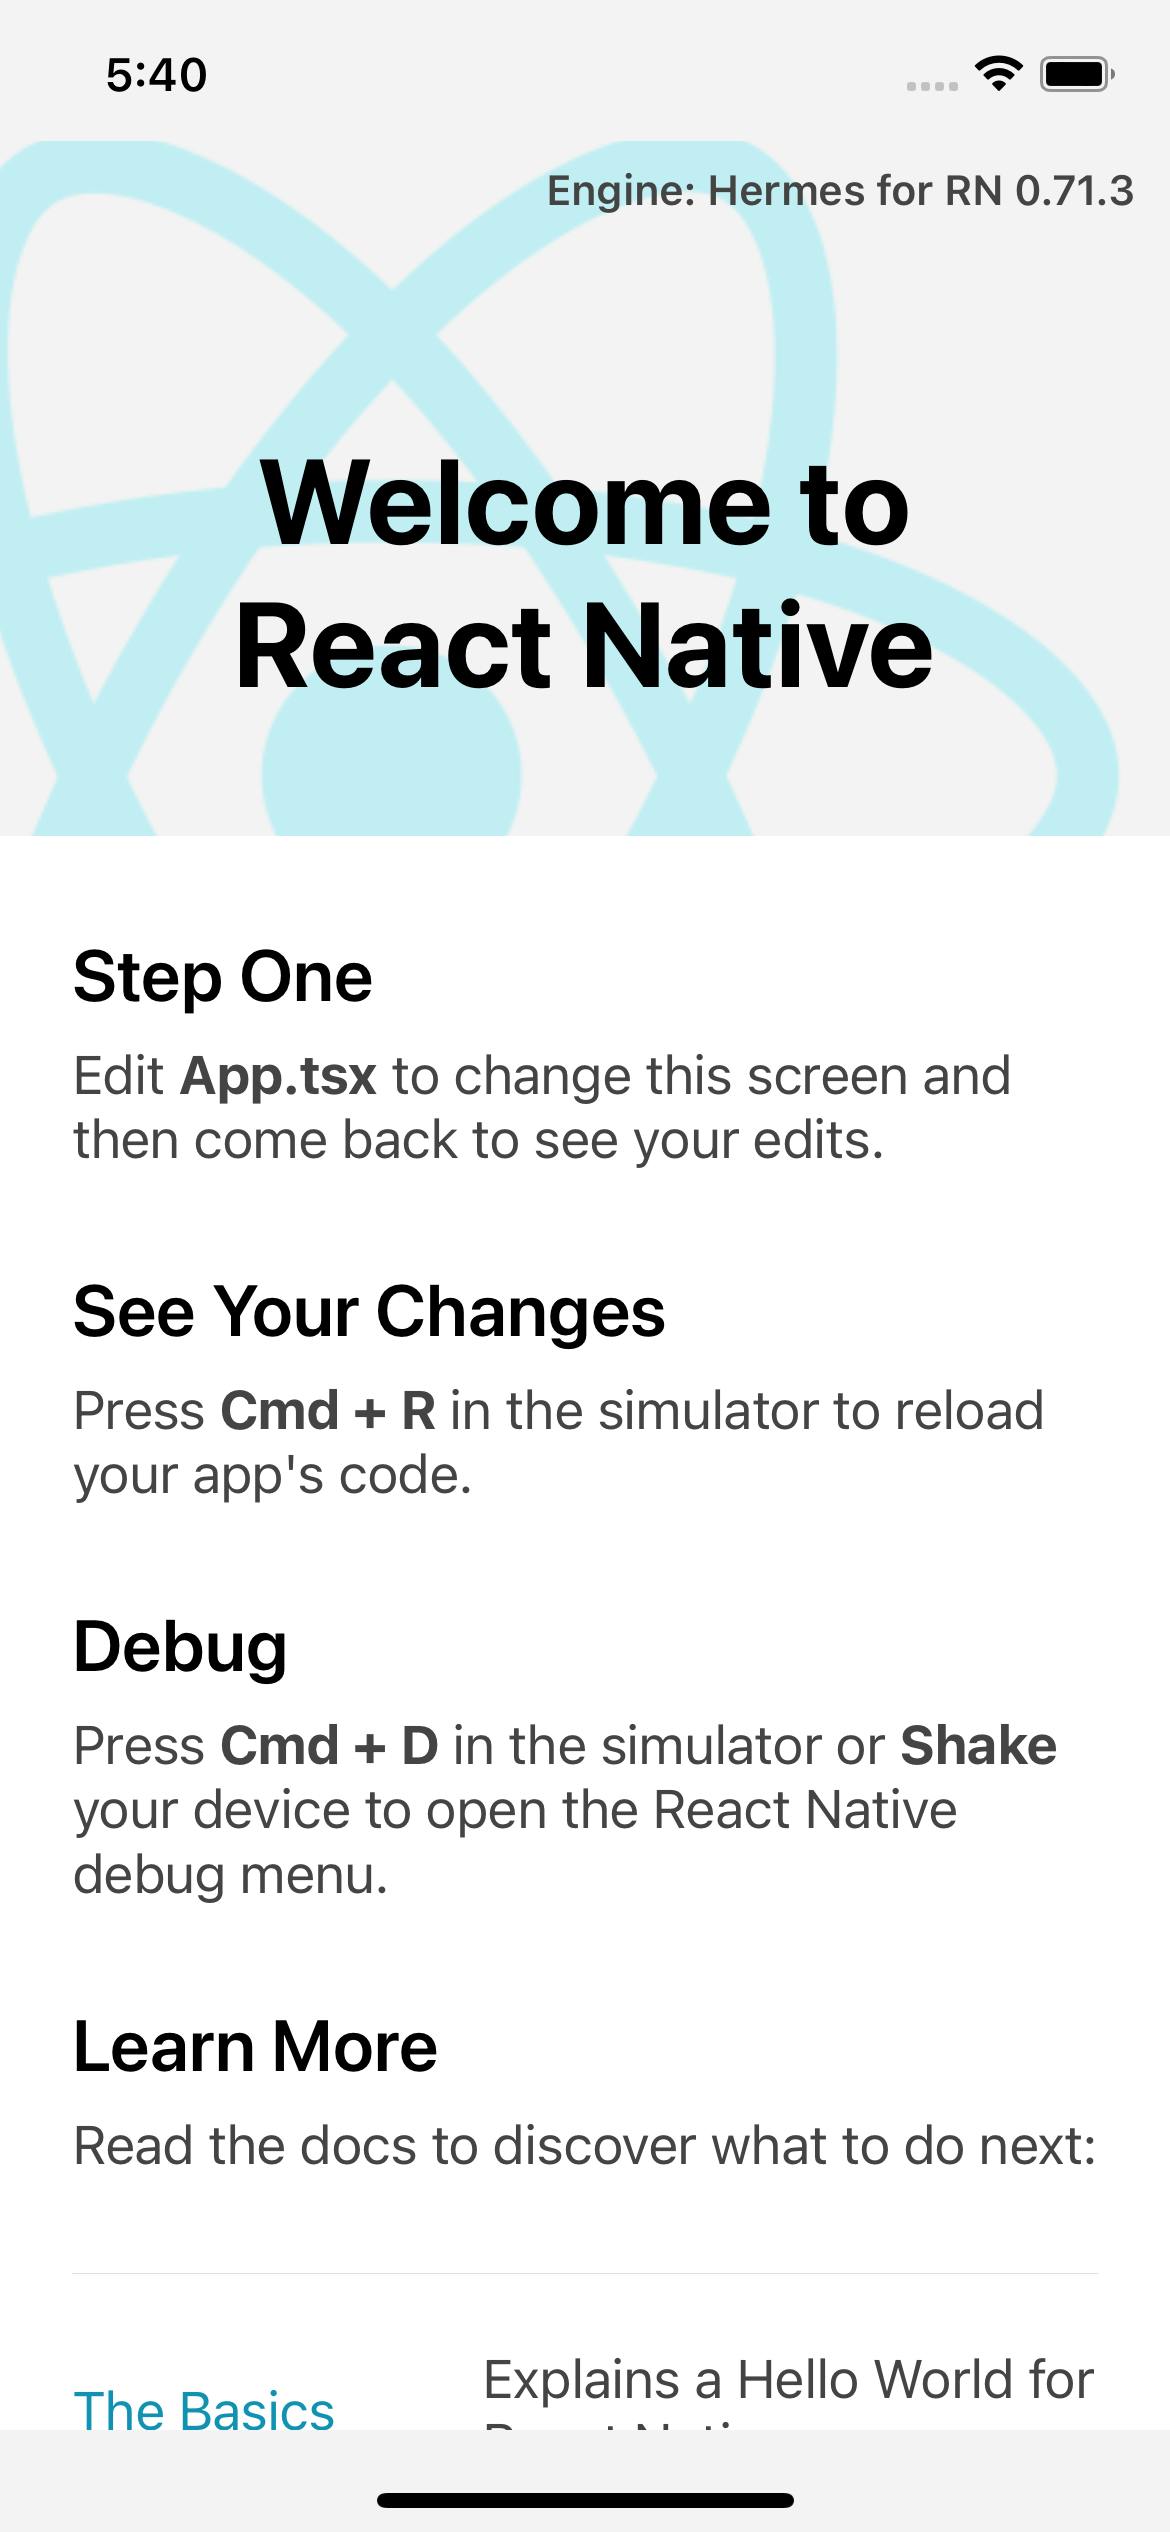
You'll get a new react native app running in the simulator like this